### Keyword Analysis
- Keyword: "diy wishing well plans"
- Core Components:
- Occasion: This is multi-faceted. The primary occasion is a home improvement or crafting project for garden decoration. Secondary, but very popular, occasions include weddings, bridal showers, and baby showers, where the well serves as a card or gift holder. It can also be for fundraisers or community events.
- Tone: The tone is practical, instructional, creative, and encouraging. It’s for someone looking to build something with their own hands. The desired feeling is empowerment and inspiration.
- Recipient: The "recipient" of this information is the DIYer. This person could be a beginner woodworker, a seasoned crafter, a budget-conscious event planner, or a homeowner looking to add charm to their yard.
### Invented Categories
Based on the analysis, I've developed 5 creative categories that target the different needs and skill levels of someone searching for DIY wishing well plans:
1. The Rustic Gardener's Classic: Plans for traditional, sturdy wooden wells meant for outdoor landscape decor.
2. The 'I Do' DIY: Wedding & Event Card Holders: Plans focused on elegance, portability, and functionality for collecting cards at special events.
3. Upcycled & Budget-Friendly Builds: Creative plans that use unconventional or recycled materials for a low-cost, high-charm result.
4. The Weekend Woodworker's Starter Plan: Simplified plans designed for beginner builders with basic tools and skills.
5. Miniature Marvels: Tabletop & Fairy Garden Wells: Small-scale plans for indoor decor, fairy gardens, or party centerpieces.
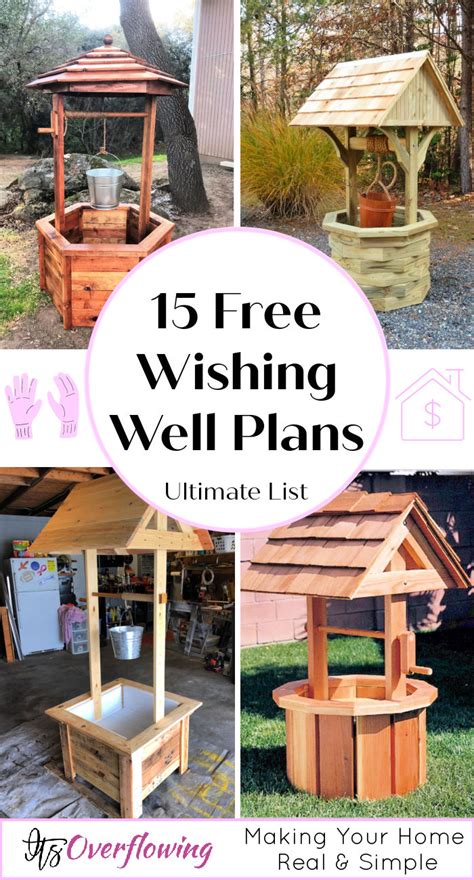
There’s something timelessly enchanting about a wishing well. It evokes a sense of rustic charm, fairytale romance, and hopeful dreams. While stumbling upon one in a hidden forest is rare, building your own is a wonderfully rewarding project that brings that same magic right to your home or special event. The satisfaction of turning a pile of materials into a beautiful, functional piece is a gift in itself.
Whether you’re a seasoned woodworker aiming to build a garden centerpiece that will last for decades, a bride-to-be dreaming of a unique card holder, or a crafter looking for a fun weekend project, there's a DIY wishing well plan for you. This guide breaks down the possibilities into easy-to-browse categories, helping you find the perfect project for your skill level, budget, and vision. Let's start building!
The Rustic Gardener's Classic
These plans are for creating a timeless, sturdy wishing well that becomes a permanent, charming fixture in your garden or yard. They often use weather-resistant woods like cedar or pressure-treated pine and focus on traditional construction.
- The Octagonal Base Plan: Create a classic eight-sided base for authentic visual appeal. This involves precise angle cuts for a professional finish.
- Sturdy 4x4 Support Posts: Use solid timber posts to hold the roof structure, ensuring it can withstand wind and weather.
- The A-Frame Roof Design: Construct a classic pitched roof with exposed rafters for that iconic wishing well silhouette.
- Authentic Cedar Shingle Roofing: Learn to cut and layer small cedar shingles for a beautiful, durable, and water-resistant roof.
- Functional Spindle and Crank: Build a working crank handle and spindle around which you can wrap a decorative rope.
- The Hanging Bucket Detail: Source or build a small wooden bucket to hang from the rope, completing the classic look.
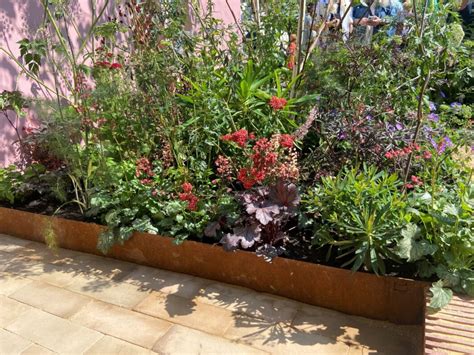
- Integrated Planter Base: Modify the base design to incorporate a hollow center or side pockets perfect for planting flowers like petunias or ivy.
- Applying Weatherproof Stain & Sealant: Finish your project with a high-quality outdoor stain to protect the wood and enhance its natural grain.
- Stone Veneer Base Accent: Elevate the design by applying a faux-stone veneer around the wooden base for a more robust, old-world feel.
The 'I Do' DIY: Wedding & Event Card Holders
Designed for elegance and function, these wishing wells are perfect for weddings, bridal showers, or anniversary parties. The focus is on a smooth, paintable finish and easy access for retrieving cards.
- The Lightweight Plywood Build: Use smooth, sanded plywood for the main structure, which is easy to paint and transport.
- The Discreet Card Slot: Cut a clean, slim slot into the roof or a side panel, perfectly sized for greeting cards.
- Hinged Roof for Easy Access: Design one side of the roof on hinges with a small latch, allowing you to easily open it and collect the cards after the event.
- Elegant White & Gold Finish: Prime the entire structure and apply a flawless coat of semi-gloss white paint, adding gold accents to the crank and details.
- The Removable Base: Construct the well so it can be easily detached from its base for simpler transportation to and from the venue.
- Personalized Laser-Cut Signage: Add a custom touch by ordering a laser-cut wooden sign with the couple's names and wedding date to hang from the well.
- Draping with Tulle and Fairy Lights: A plan that is simple in structure to allow for decoration. Weave battery-operated fairy lights and soft tulle around the posts and roof.
- The Secure Lock Box Design: For peace of mind, incorporate a small, subtle cam lock into the access panel to keep cards secure throughout the event.
Upcycled & Budget-Friendly Builds
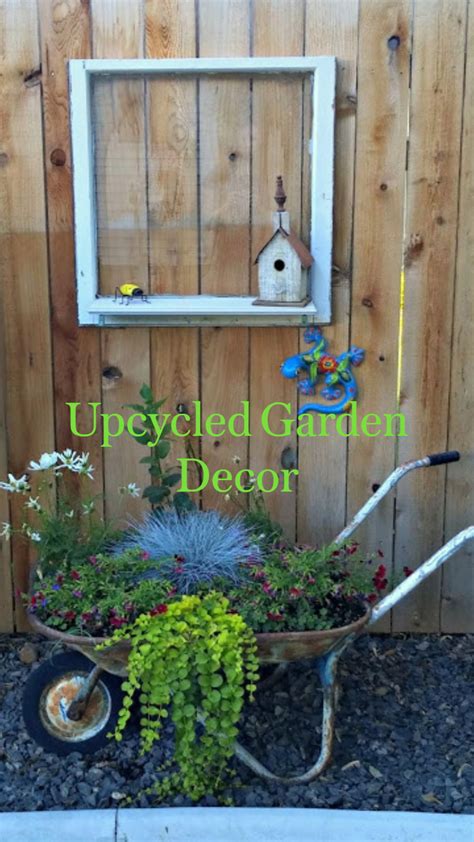
You don’t need a lumber yard to build a wishing well! These imaginative plans use recycled, upcycled, and inexpensive materials for a project that’s big on charm but low on cost.
- The Recycled Tire Tower: Stack two or three old car tires and bolt them together for a sturdy, round base. Paint them to look like stone or brick.
- The Five-Gallon Bucket Base: Use a large plastic bucket as your core structure. Clad it in thin wood slats, bamboo sticks, or even rope for a decorative finish.
- The Pallet Wood Wonder: Disassemble free wooden pallets and use the reclaimed wood to construct the entire wishing well, embracing the rustic, weathered look.
- Cardboard Box Construction (for indoor events): Use large, sturdy cardboard boxes to create the base and roof. This is perfect for a child's party or a temporary shower decoration.
- Coffee Can and Dowel Rod Roof: Create a simple roof structure using dowel rods for posts and a large, empty coffee can for the bucket.
- The Terra Cotta Pot Well: Stack several terra cotta pots of decreasing size to form a tapered base, perfect for a smaller garden or patio.
- No-Cut PVC Pipe Frame: Use PVC pipes and connector joints to build the roof support structure—no sawing required! Simply spray paint it to your desired color.
The Weekend Woodworker's Starter Plan

New to woodworking? These plans are for you. They use common lumber sizes, simple cuts, and basic joints to create a beautiful wishing well without the need for advanced tools or experience.
- The Simple Square Base: Forget complex angles. Build a simple, strong base using 2x4s or 2x6s joined in a square.
- Basic Butt Joint Construction: Rely on simple, straight-on joints secured with wood glue and screws—no complex joinery needed.
- Single-Panel Roof Design: Create a simple roof using two large, flat panels of wood joined at the peak.
- Using Pre-Cut Lumber: Design your well around standard lumber dimensions (e.g., 2-foot sections of 1x6 boards) to minimize cuts.
- The Dowel Rod Support System: Instead of heavy 4x4s, use thick, sturdy wooden dowel rods for the roof supports.
- A Simple Cross-Brace Roof: Build two triangular end-pieces for the roof gables and connect them with a few boards across the top.
- The Stationary Crank: Create the look of a crank and spindle without the complex mechanics. Simply glue a pre-made handle onto a stationary dowel.
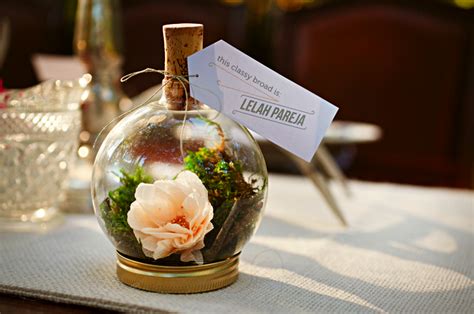
Miniature Marvels: Tabletop & Fairy Garden Wells
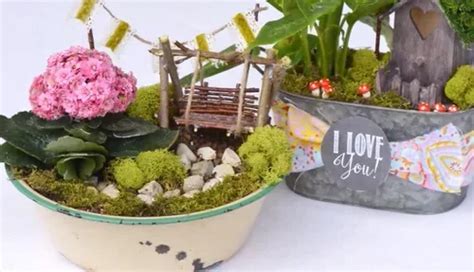
Think small! These delightful plans are perfect for creating tiny wishing wells that can serve as a party centerpiece, a fairy garden focal point, or a whimsical piece of shelf decor.
- The Craft Stick Creation: Use popsicle sticks or coffee stirrers to build the base and roof, gluing them together for a miniature rustic look.
- The Small Plant Pot Base: Use a 4-inch terra cotta or ceramic pot as the base for an instant, stable foundation.
- Twigs and Twine Roof Structure: Forage for small, straight twigs in your yard and lash them together with twine to create a truly magical and natural roof frame.
- Bottle Cap Bucket: A metal or plastic bottle cap makes the perfectly-scaled bucket, hung from a piece of thread or fine twine.
- The Polymer Clay Well: Sculpt the entire wishing well—from the "stone" base to the "shingled" roof—out of polymer clay and bake it for a permanent, custom creation.
- Moss and Decorative Stone Accents: Glue tiny pebbles around the base and add bits of craft moss to the roof for an aged, enchanted-forest feel.
- The Spool and Bead Crank: Use an empty thread spool for the spindle and a small wooden bead for the crank handle to complete your tiny masterpiece.
### A Wish for Your Project
Choosing a plan is the first exciting step. The real magic happens when you make it your own. Don’t be afraid to mix and match ideas from different categories or add a unique touch that reflects your personality. Whether you paint it a bright color, carve your initials into a post, or let trailing ivy climb its sides, your DIY wishing well will be more than just a decoration—it will be a story you built yourself. Happy building